Re-render or repair
Re-render or Repair? Cracked Render in Aylesbury
A crack, a hollow patch and a green streak below a gutter can all look like reasons to re-render. They are also three different problems. This page sets out what the pictures show, what published advice says, and how to ask a renderer for both routes in writing.
Signs to look at
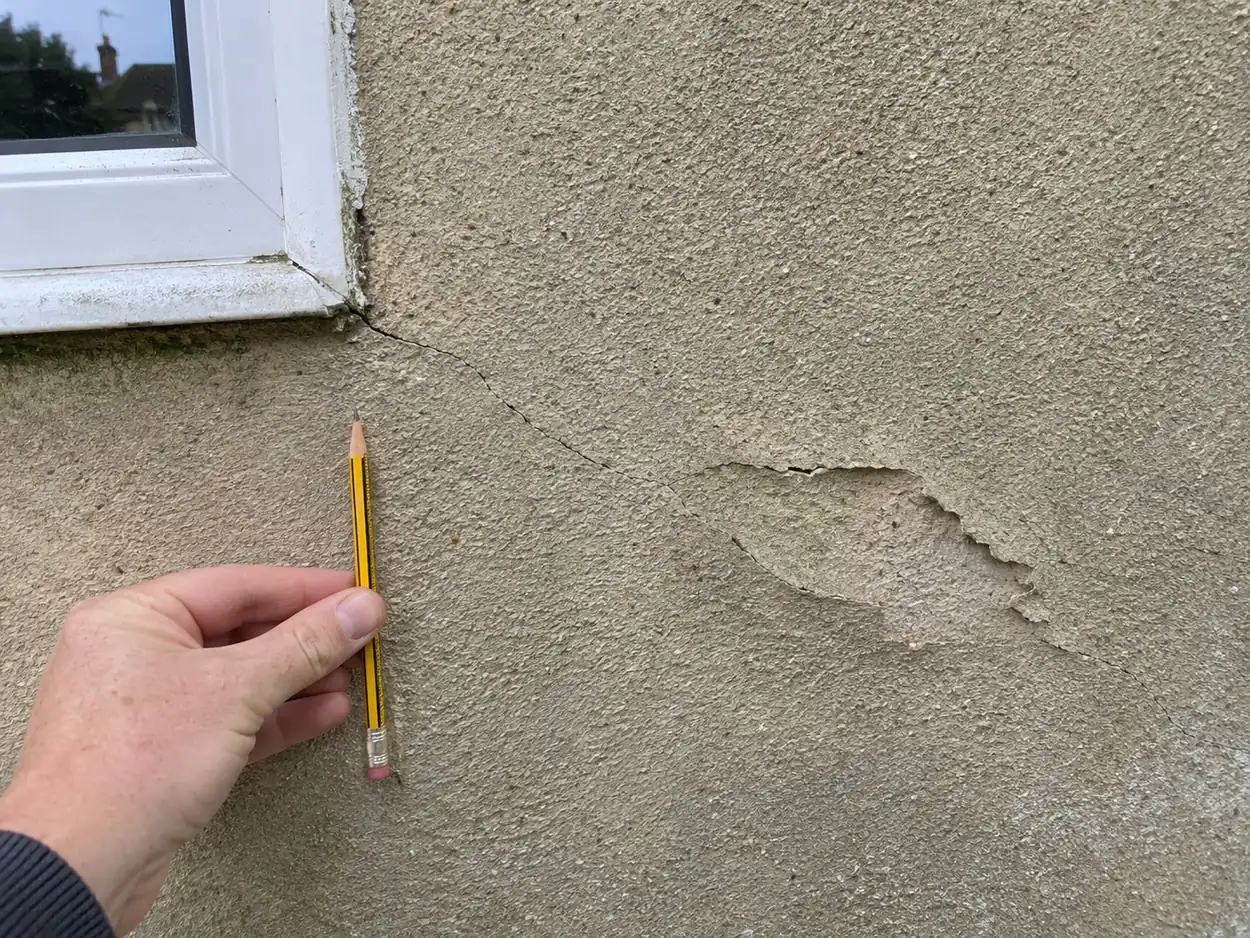
The close-up above shows a hairline crack running from the corner of a window and a patch that looks raised at the edge, as if it might sound hollow. That is all a photograph can say. It cannot tell how deep the crack goes, or whether the patch has air behind it, or what caused either. How hollow areas are found, and how many there are, is a question for the renderer.
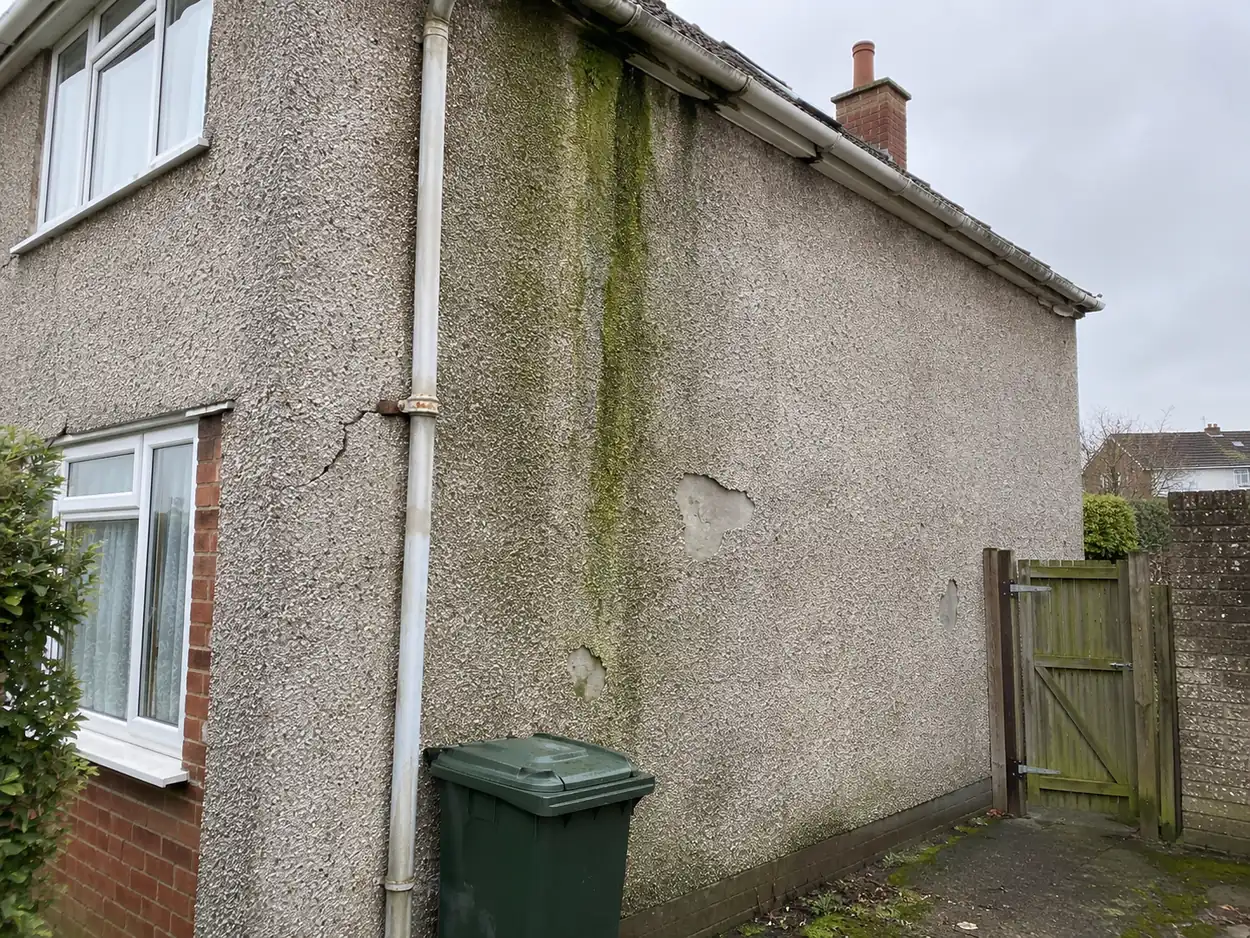
The second photograph, of a different house, shows a pebbledash side wall with a green streak below a gutter and patches where the finish has fallen away. A streak like that may point to water coming from the gutter above, rather than to the render. Again the picture cannot settle it, but it does show why the gutter belongs in any conversation about the wall.
Moisture comes first
Historic England writes about walls in older buildings, yet one sentence applies widely:
It is essential that a building is in a good state of repair and free from excess moisture before wall insulation is installed.
Source: Historic England, Insulating Walls in Historic Buildings, viewed 19 November 2026. The page is about insulating walls; the point is quoted here only for the order of work.
Put plainly, find out why a wall is wet or cracked before covering it. The Planning Portal says something close to that for any covering, noting it is not recommended to apply cladding to structurally unsound walls which cannot be repaired
. Source: the Planning Portal’s external walls page on planning permission.
Patch or re-render
Baumit’s guide gives its own simplified route for refreshing a render that has cracked or split, and it begins with looking, not rendering:
- Assess the damage.
- Clean the surface and brush away any peeling or flaky paint.
- Prime the holes and cracks.
- Add a new layer of facade paint.
That route is a manufacturer’s own outline for its products, and it concerns cracks and tired paint. It says nothing about hollow areas or about a wall that is wet. Whether a patch is enough, or a whole wall should be redone, turns on the cause and the extent, and on what the existing finish is made of. Asking for both routes written bay by bay or wall by wall lets the two be set side by side.
Re-rendering a whole wall brings the rules pages into play. The rules page quotes what the Planning Portal and the Approved Document say about renovating an external wall, and why Buckinghamshire Council is the place to ask. Source for the repair outline: Baumit’s beginner’s guide to rendering.
Questions to put to a renderer
- What do you think caused each crack, and what is your evidence?
- How will you find every hollow area, not only the obvious ones?
- Would you patch, and what exactly would the patch be made of?
- What would a full re-render involve for this wall, written separately?
- Has the gutter or downpipe been looked at, if there are stains below it?
- What happens to the old render, and who takes it away?
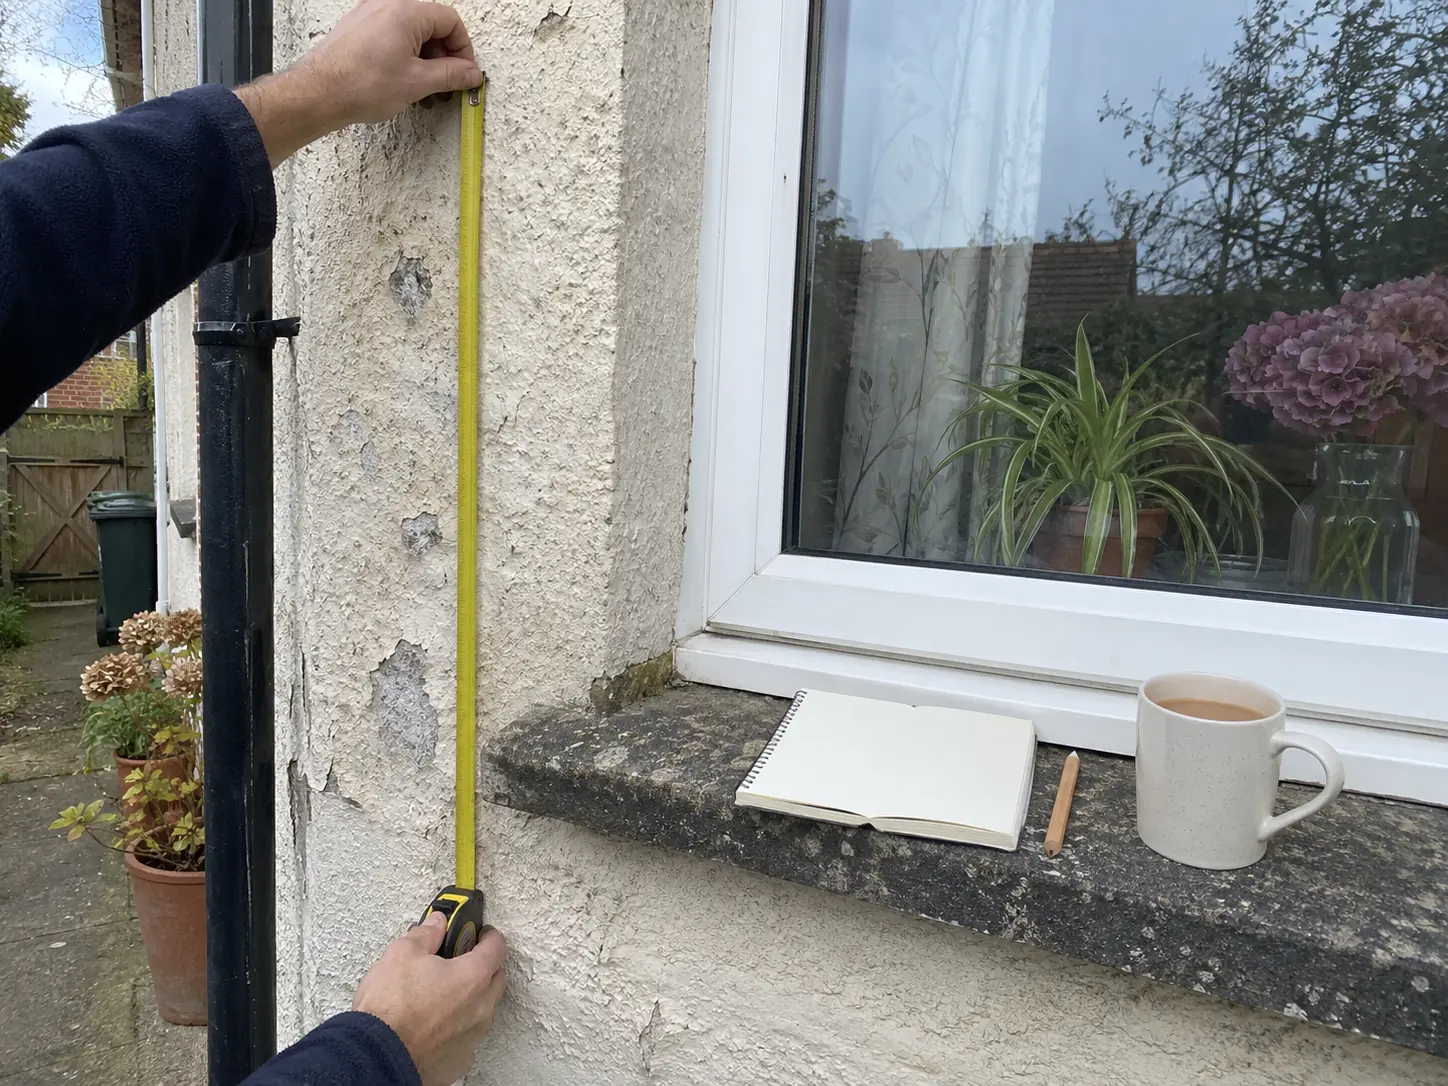
A photo helps
A close-up of the worst patch and a wider shot of the wall give a renderer something to read.